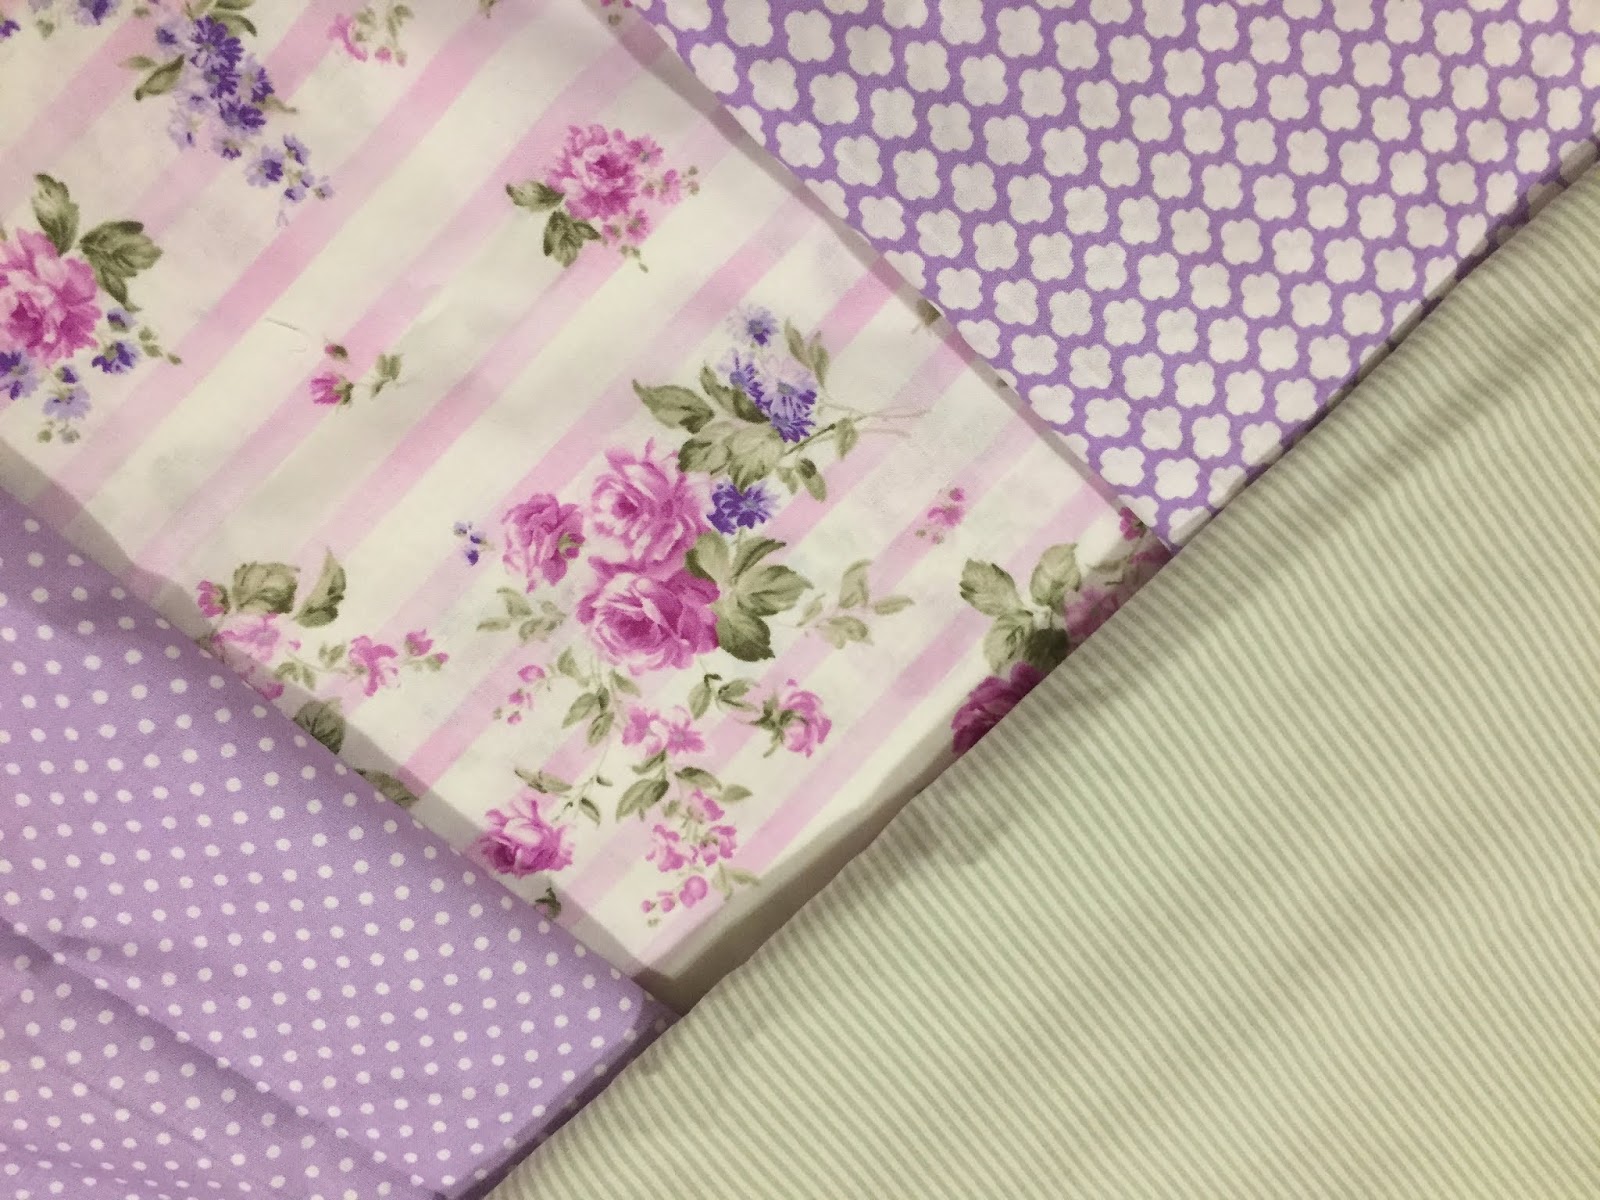
Supplies needed: scrap fabric, elastic
It is helpful to have 2 different fabrics, so that when your are wearing it,
you always know which side goes by your face.

Print and cut out this pattern. For an adult, the measurement on the edge should be a little over 5".

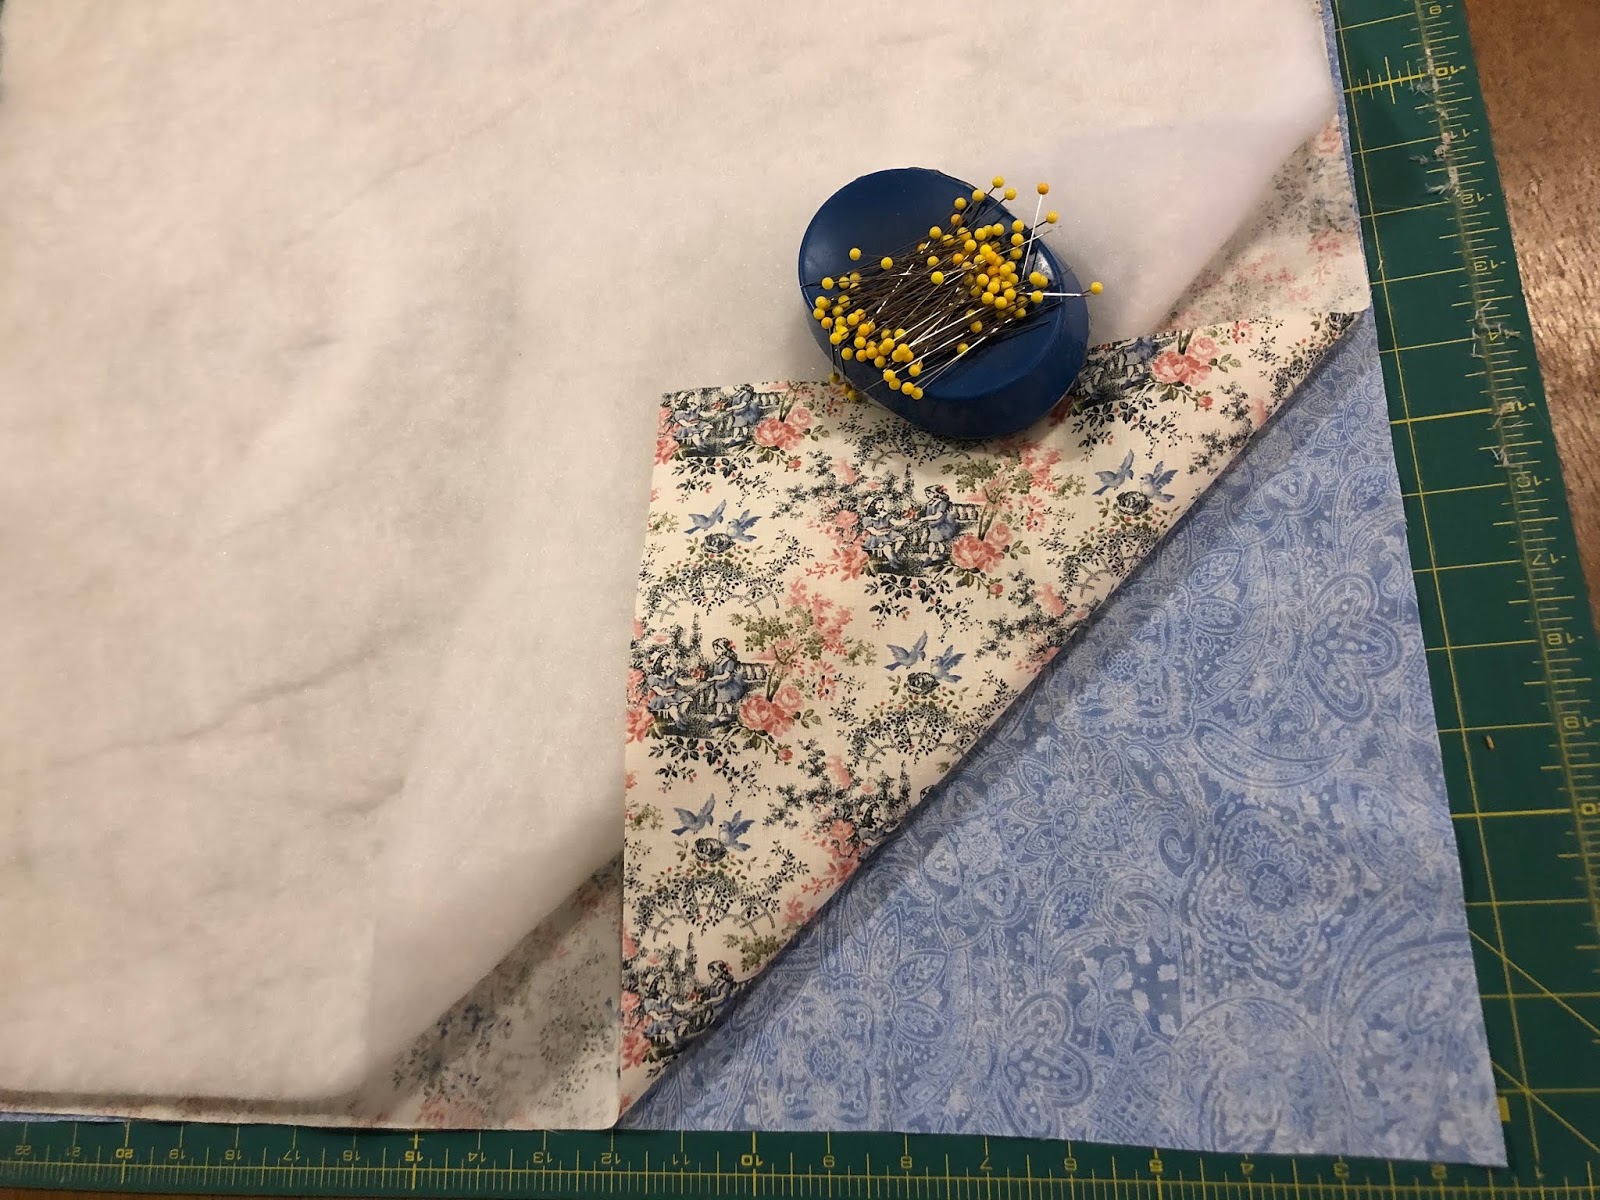
Fold fabrics in half, layer, and pin pattern piece to them.

When you are done cutting them out, you should have 4 pieces.

Pin the fronts, right sides together, then pin the backs, right sides together.

Sew the curved seam only, at 1/4". Repeat for front and back pieces.
This is the seam that will go over your nose and chin.

Using a pressing ham, or a rolled up towel in the shape of a ball, press the curved seam with seam allowances out. It will take a little time and be a little frustrating, but get it the best you can.

Press the front and back seams.

Now, lining up the seams, pin the front piece and the back piece together.

Then pin the rest of the mask together.

Using a 1/4" seam allowance again, this time sew the top and bottom of the mask.
Do not sew the sides that go by your ears yet.

O.k., if your ends are still open, turn the mask right side out. If you accidentally sewed them shut, this will be an opportunity to spend some time with your seam ripper. Go ahead and unpick them :) You should be able to turn both ends out like this.

Using a chopstick or similar object, push the seams out by pressing the chopstick along them.

Press one half of the mask at a time, working from the end to the middle.
Stop at the middle and turn mask to do the other side.

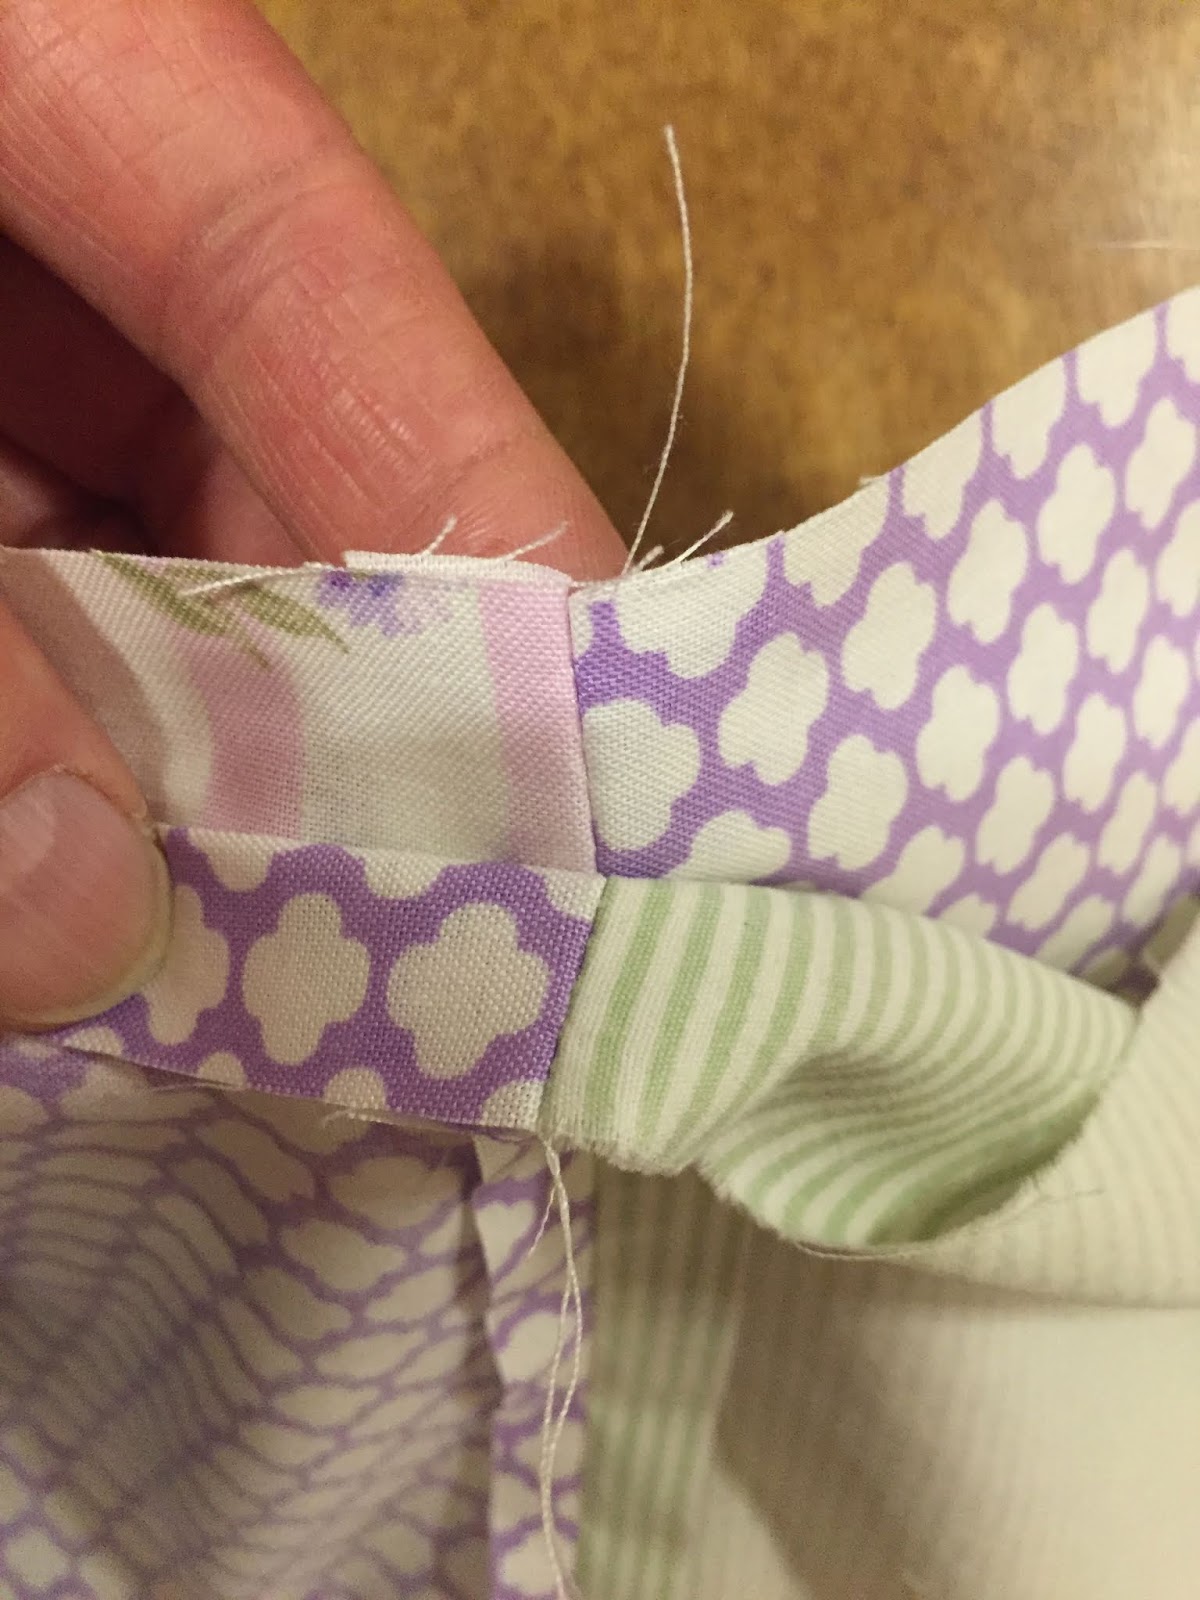
Fold the ends of the mask in 1/2" and finger press and then press with the iron.

Now pin your elastic inside your fold. You will need to experiment to see what length works for you, but starting with 7" should be plenty. It also depends on how much stretch your elastic has.

This time, topstitch with about a 1/8" stitch, all the way around the mask. You can backstitch over the elastic parts to give them extra stability.

Here is the finished mask! :)

If you find your mask is too loose, you can sew across the middle of the elastic to shorten it. Also, you can add these little pvc toggles to make it adjustable. Amazon sells them Here. This is the Elastic used here. Just hook some thread through the loop and let the thread help you wiggle the elastic through the toggle. Enjoy :)