#9. Beanbags (2)

- Cut out 4 pieces of fabric 4” x 4”.
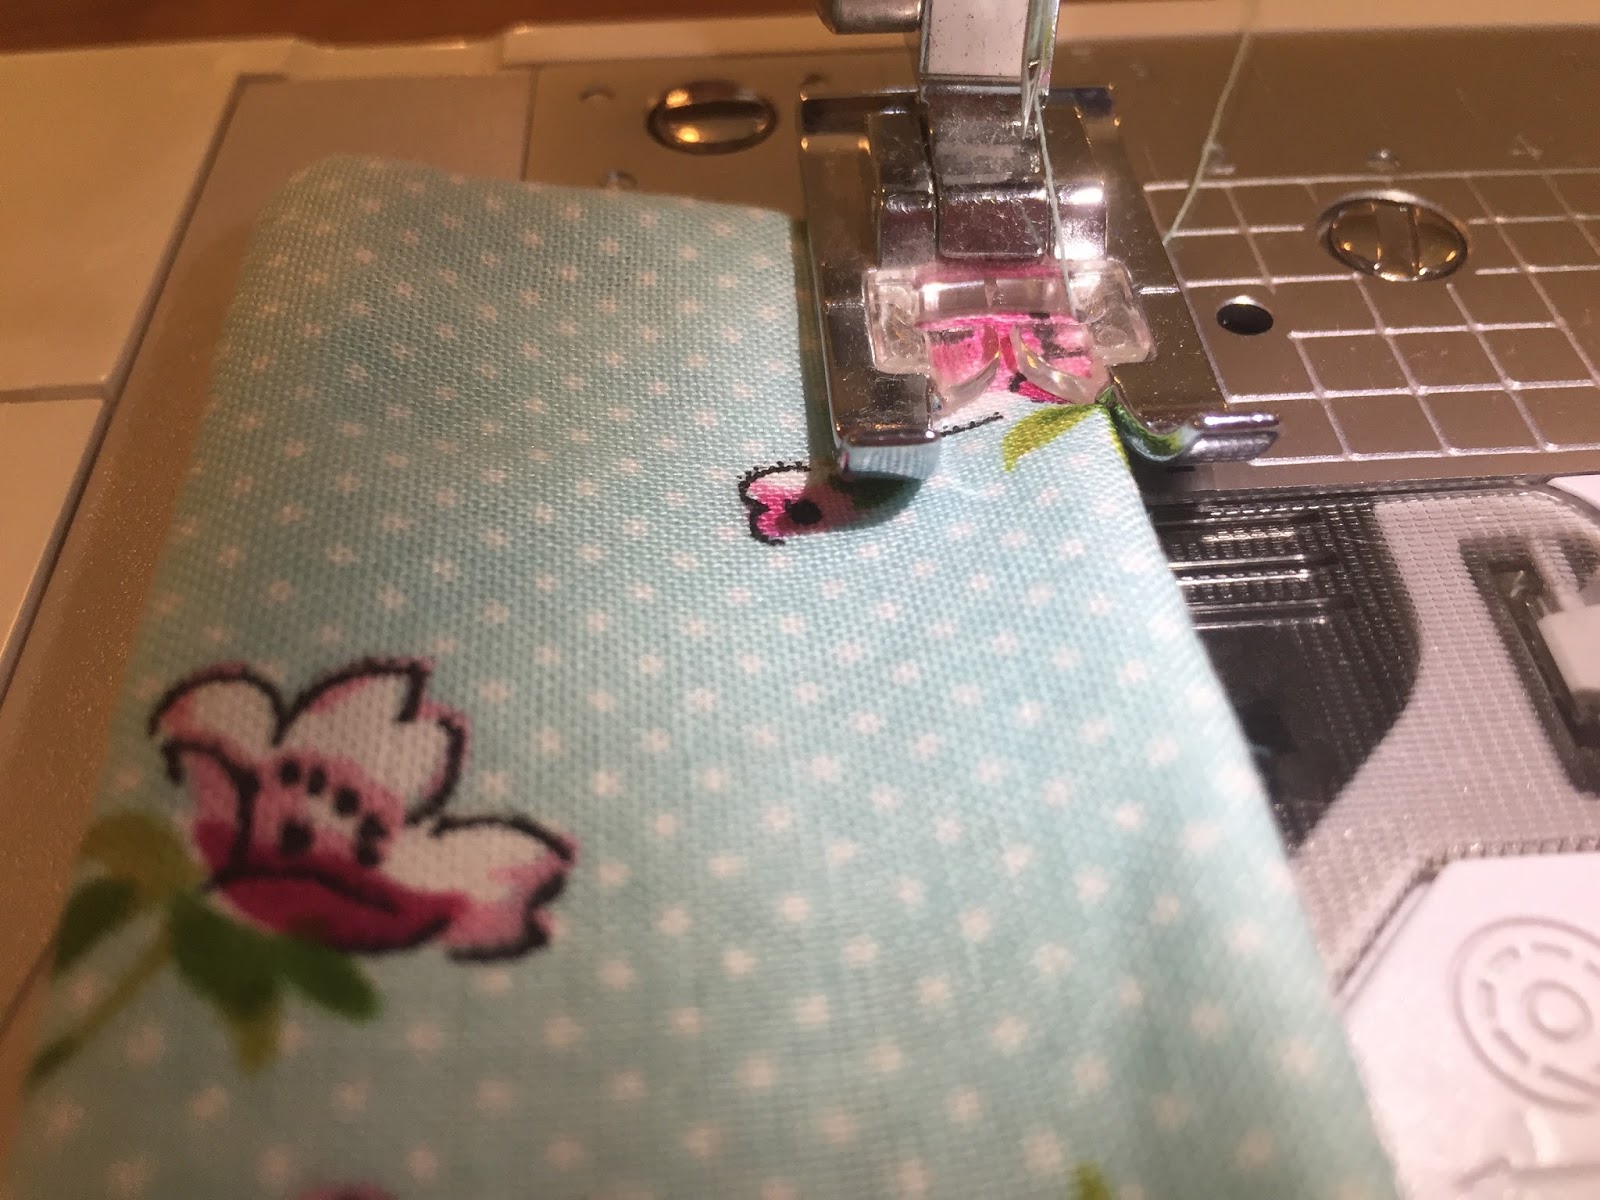
- Putting right sides together, pin 2 together and sew with a straight stitch around edges, with 1/2” seam allowance, leaving 1 1/2” un-sewn for turning.
- Turn right side out and fill with dry beans or rice.
- Pin opening together and sew by hand with needle and thread using a whip stitch. Repeat with 2nd beanbag.
Extra Miler: Sew 4 or 5 to make a nice gift set for a young friend or sibling.
1. Cut out 4 pieces of fabric 4” x 4”.
2.
Putting right sides together, pin 2 together and sew with a straight stitch around edges, with 1/2” seam allowance, leaving 2" un-sewn for turning.
3.
Turn right side out, push corners out with a pencil or chopstick and fill with dry beans or rice. My kids say the rice bags are better.
4.
Pin opening together and sew by hand with needle and thread using a whip stitch. Tie knots at the beginning and end. Repeat with 2nd beanbag.
After tying knot, tuck thread under stitches before clipping.