Patchwork Quilt
What you will need:
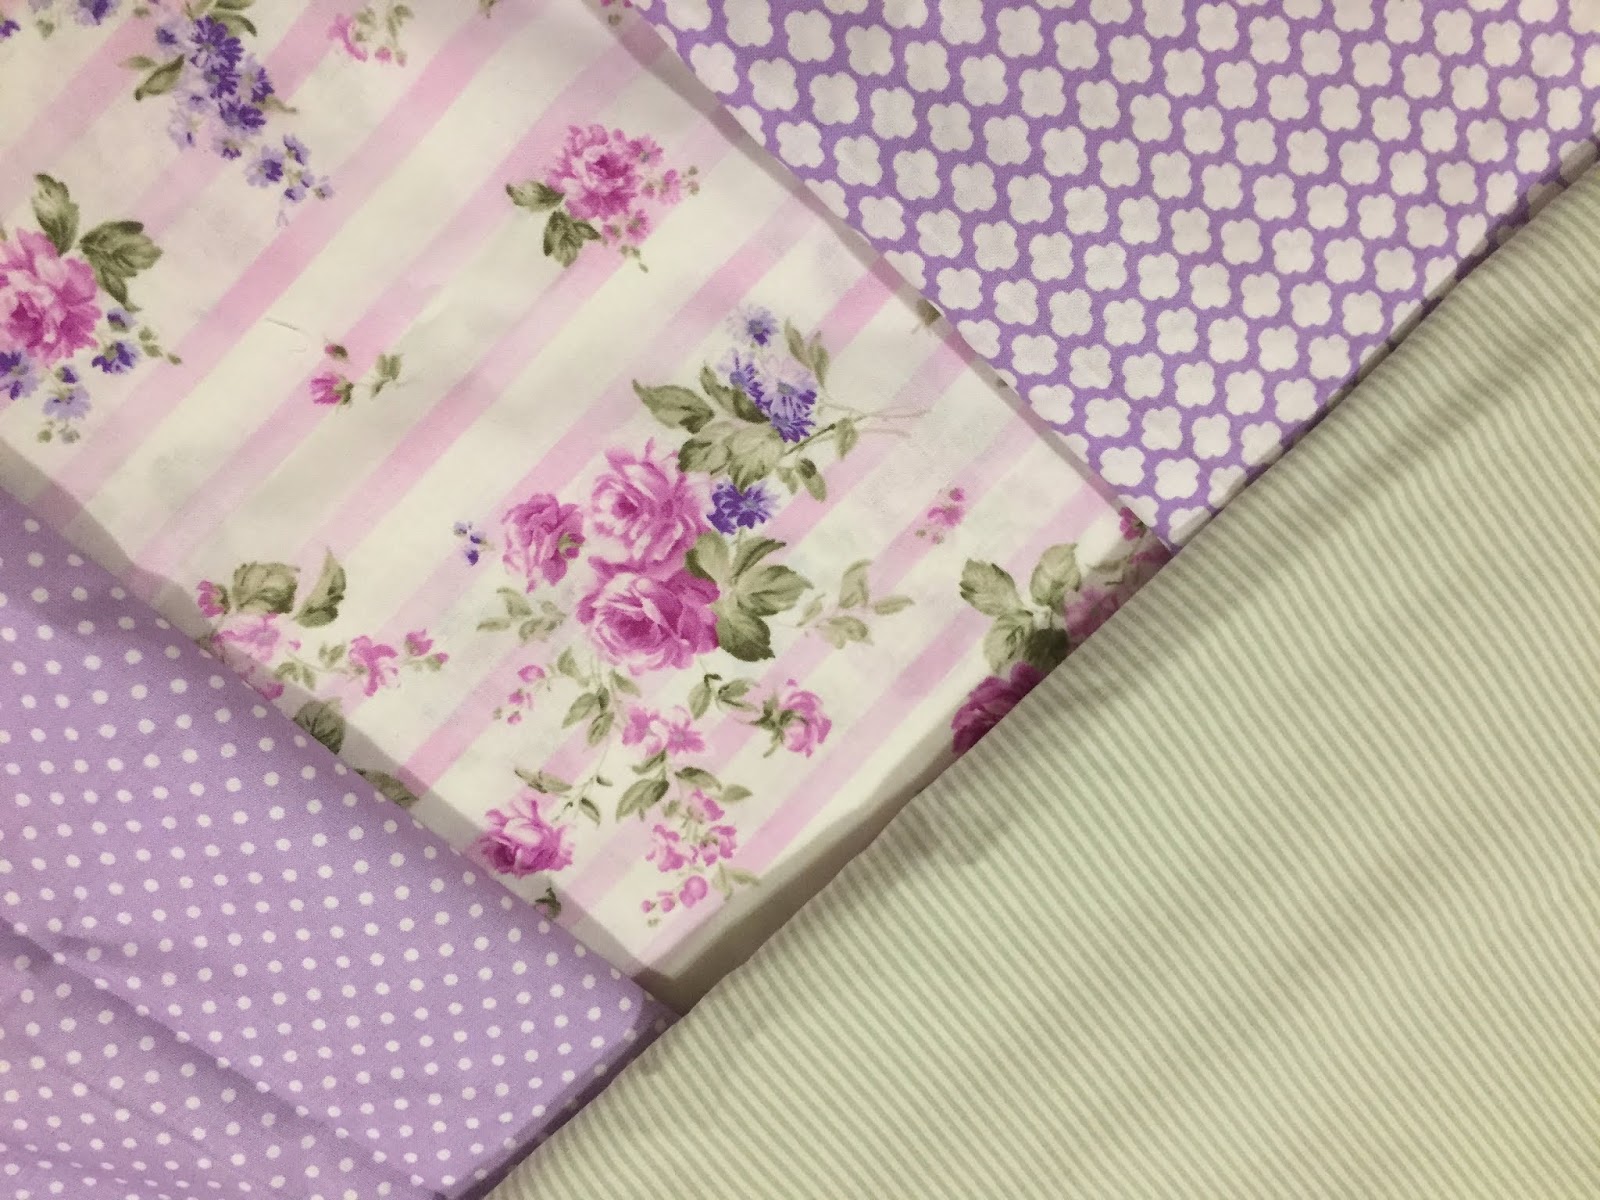
3/4 yard each of 4 different coordinating cotton fabrics for front
2 yards cotton fabric for back (or a twin sheet)
1 package natural cotton quilt batting size small, (45 X 60")
Cotton crochet thread to tie quilt layers together
Hand sewing needle with a fairly large eye
Pick Coordinating Fabrics
Step 1: If you are using flannel fabric, be sure to prewash as it shrinks. Cut fabric in 12 inch squares. If you are using a rotary cutter and mat, be sure to put your folded edge of fabric on side to be cut last, as you will need to unfold it to get all your squares needed. If you forget, you will need to sew the pieces back together to make your squares. This picture shows the selvage edges being cut first.

This shows what is left after you cut your first square.
The left side will be unfolded to cut your other square.

Like this:
 |
Cut all squares. You should end up with 24 squares. |

Arrange squares in design you would like.

If you have to put quilt away before sewing, this is how you can stack it:
Bring each piece on top of the piece next in the row, leaving about 1" showing. Stack each row, Put a safety pin in the top left square so you know where your top row is. It would be helpful to put a safety pin in each square on the left side to help

After stacking each row, stack rows carefully on top of each other, leaving about 2" showing.
Make sure pin is on top.


Pin squares right sides together,
sew with 1/2" seam allowance.


Sew first row together. Press seams allowances open.

Sew 2nd Row, line up with first row and make sure
the squares are in the right place.
If not, unpick and fix.

Place rows with right sides together.

Match up seams and pin in place.
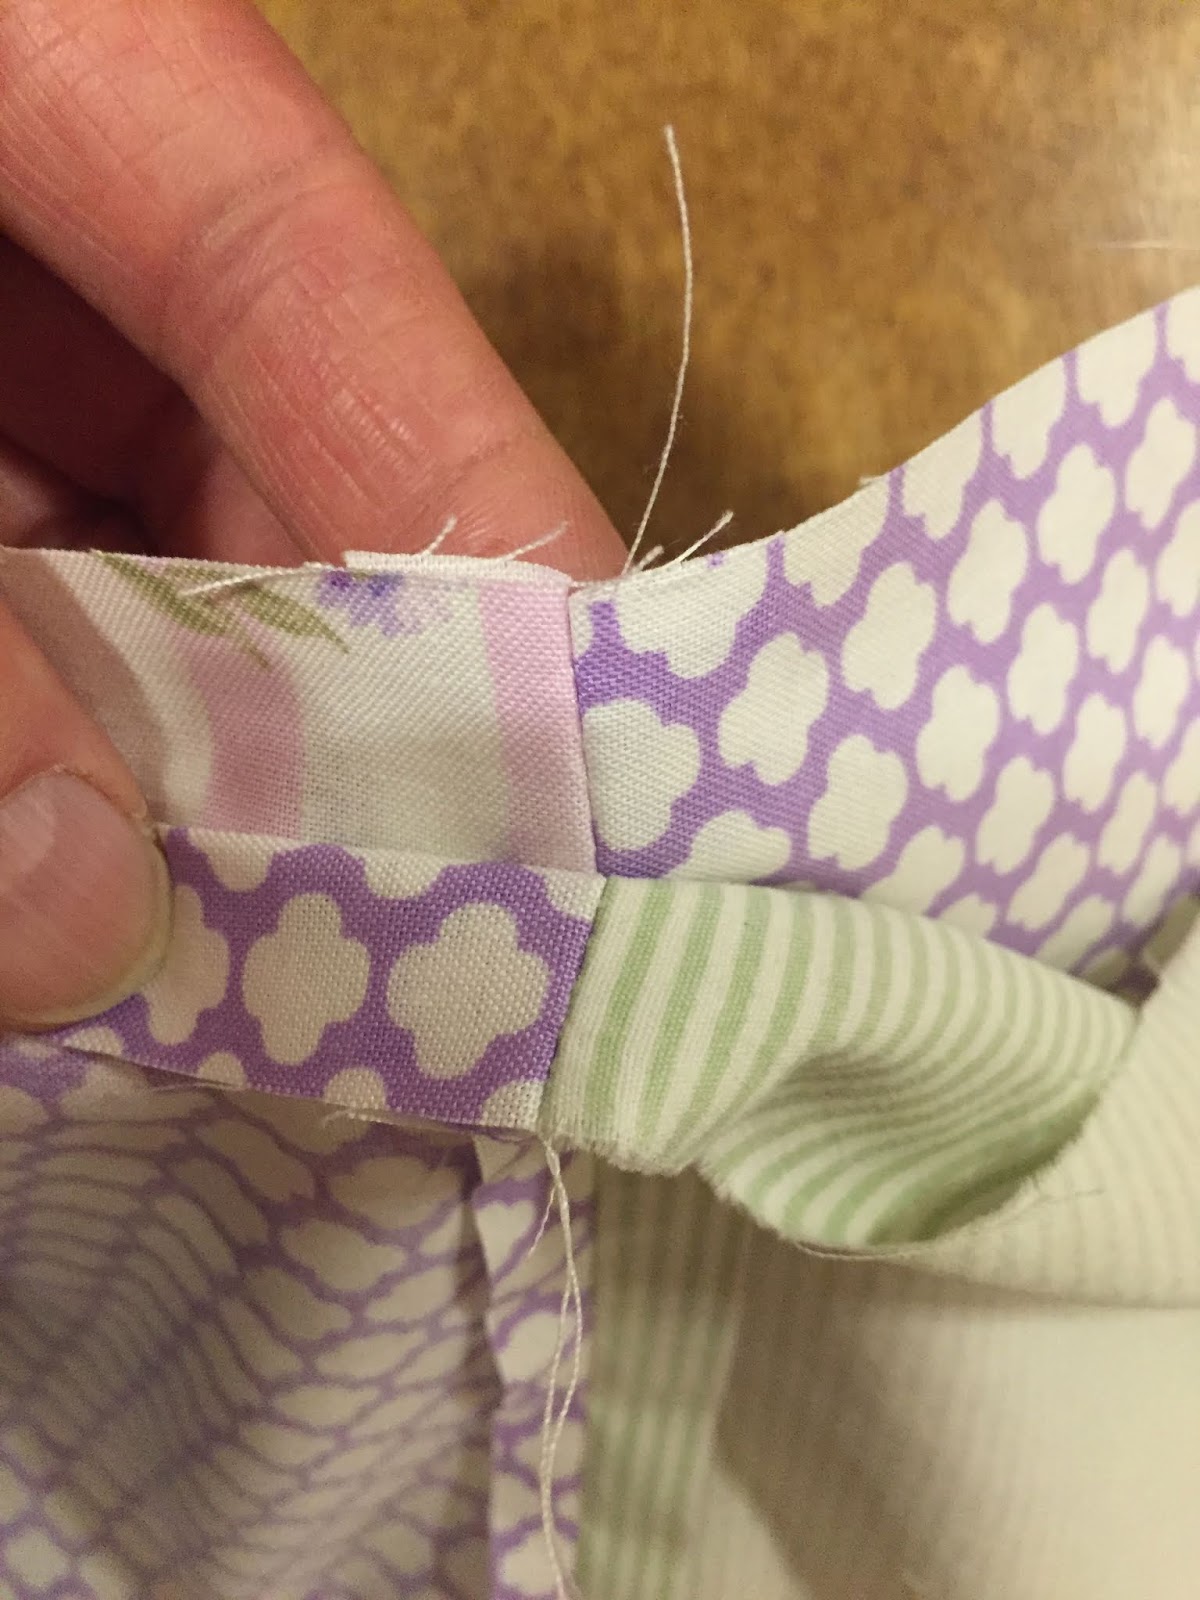
Pin Rows together and sew.

Press seam allowances open.


Continue with rows until quilt top is finished.

If you want to make a small size for baby, you can use
half of the squares :)

Unroll the batting and lay out on quilt back.


(I used a sheet for my back-remove the hems)


If you want to wrap the back to the front for the binding, your quilt needs to look like this. Back is a couple of inches bigger than batting and front.

If you want to wrap the front to the back, it needs to look like this.
Top overlaps back by a couple of inches.

After making your quilt sandwich-back, batting, top, pin each square, going through all layers. Turn quilt over to see if you have any wrinkles. As you can see, this one did, so I had to unpin certain parts and pull the backing and batting straight. It is helpful if someone can help you lay out the quilt and if you both pull from opposite side at the same time on the bottom layer and then the batting. This helps get the wrinkles out.

Prepare to tie quilt with crochet cotton in coordinating color.


Cut a piece of paper, 5" square to use as a guide. Place in middle of square and put a little mark at each corner. This is where you will tie your knots.

Now make a square knot, going right over left,
and then left over right.
Pull it tight against the fabric each time to get a good, close knot.

Right over left (above). Pull it tight (below).

Left over right (below). Pull it tight, Don't cut it yet :)

For 2nd knot, take a "bite" of fabric, pull it tight, then you will do a square knot be either going left and then right, or top and then bottom. This picture shows the loop going on the bottom and then bring the needle under the tight strands and up through the hole. (Below)

Now loop thread around the top and bring needle under tight threads and up through the loop. Pull tight. (Below)

I like to keep making knots until I run out of thread.
It goes faster this way.

Cut threads about 1 1/2" long, or how ever you like them.
Just don't get them too short-they might come undone easier.

Finish tying all of squares. Now it is time to do the binding around the outside!
Too Be Continued......


No comments:
Post a Comment