Easier Version:

Christmas Pillow
What you will need:
16 x 16” pillow form
1/2 yard fabric
Instructions:
Cut 1 square of fabric 16 x 16”
Cut 2 rectangles for the back, 16 x 11”
Hem one short side of each rectangle for the back by rolling fabric edge twice, pinning in place, then stitching.


Harder Version:

What you will need for this project:
A Pillow Form (or old pillow that needs a new cover)
Fabric scraps
fusible web
Iron
Sewing machine
Scissors
Start by measure your pillow or pillow form. Add 1" to each side's measurement and cut fabric. If fabric is a light color, you will want to back it with a white fabric (old sheet will work) so that you can't see the pillow underneath. My pillow was 19 x 19 inches, so I cut 2 squares 20 x 20", which gives me room for a seam allowance. On the back I need 4 squares so that I can fold two of them over to make an opening for the pillow to slide in.


Layer fabric and lining with right side of fabric down, as above. Then fold one edge of both fabrics twice and pin. This creates a hem.

Being careful not to run over any pins, topstitch this hem, about 1/4" from the edge. Repeat with other back piece.

You should end up with 2 back pieces similar to this (mine was too short, so hopefully yours is longer):

Now it's time to layer our pieces. First, if you have a lining, lay that down on bottom. Then add your front pillow fabric with the right side up.

Now add your hemmed back pieces, overlapping them at least 4-5 inches.

Pin all layers together and sew around outside edge, with a good 5/8" seam allowance, making sure to catch all layers. Remember to backstitch when you start and stop:)

Remove pins, turn right side out, pop out each corner with the eraser end of a pencil. Stuff pillow into the cover.


If you want to make a TREE Pillow, follow the instructions for the back of the pillow and then cut out your tree pattern pieces.

Pin to fabric scraps.

Lay pattern pieces on fusible web (paper part should be on the bottom, then the fusible web, then the trees. Line them up to prevent waste.

Cut off extra.

Place a piece of parchment paper or a pressing cloth over the trees. Using a hot iron, iron the fabric to the fusible web.

Remove parchment paper.

Being careful not to pull of the fusible web, tear paper backing off of the trees.


Cover with parchment paper, iron trees to pillow fabric.

Now you are ready to sew the trees down. I used a zig-zag, but you can pick any stitch you like.
Stitch close to the edges, making sure there is plenty of the stitch on the tree. Go around all of the tree and all of the trunk.

Now your front pillow piece is done!!!

Pillow front, right side up
Pillow back pieces, overlapping, right sides down
Pin all the way around, not too close to the edge, so as not to git the pins with your sewing machine needle.


Sew, turn right side out, stuff with pillow.

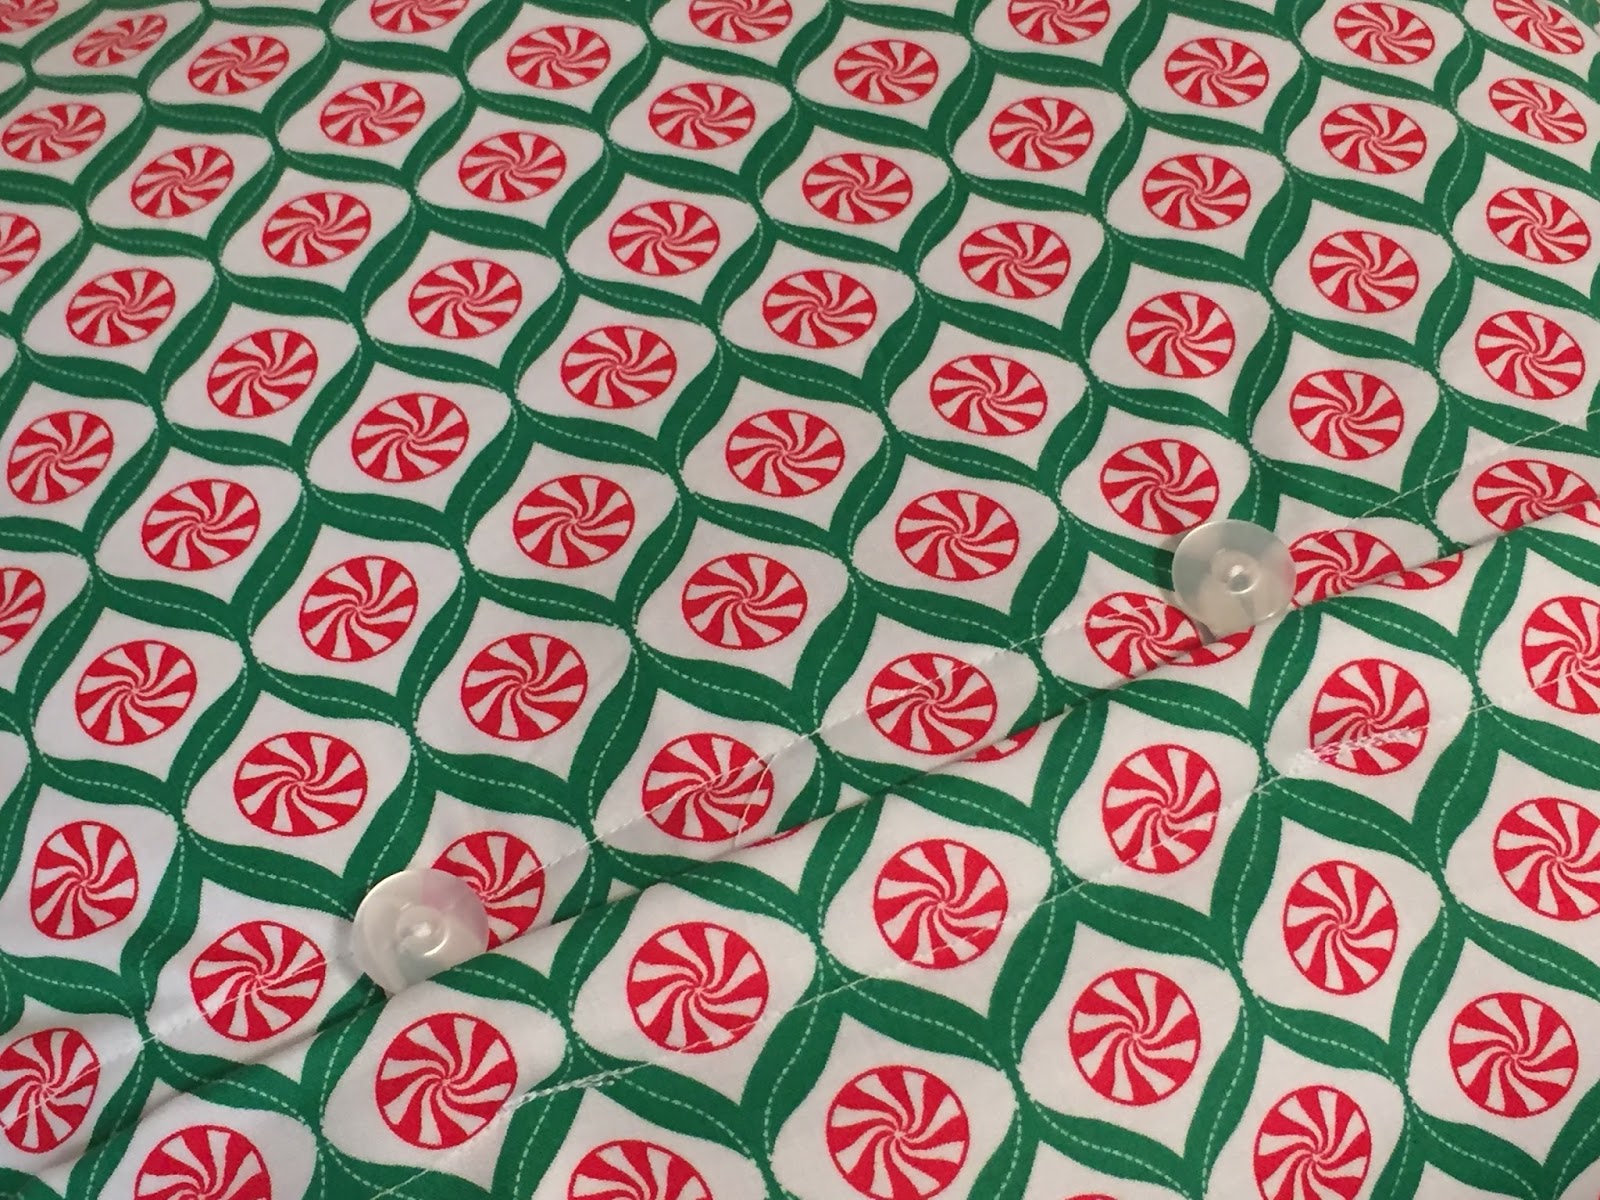
You can add buttons and ribbon for loops if it does not stay shut as well as you would like.

Idea Credit:http://cutsewpresslove.blogspot.com/2012/11/christmas-sewing.html


http://www.aquiltinglife.com/2016/11/patchwork-christmas-pillow-tutorial.html?utm_source=bloglovin.com&utm_medium=feed&utm_campaign=Feed:+AQuiltingLife+(A+Quilting+Life)


No comments:
Post a Comment